Bathroom Renovation under $200
We did the bathroom renovation at the shop including a sliding barn door for under $200. We get asked all the time how. Like every day. And I always say “I’ll blog about it”. But I haven’t. Sorry. This post is about 2 months late. But it’s still the same info. Just ignore the Christmas tree pictures….

We did the bathroom renovation at the shop including a sliding barn door for under $200.
We get asked all the time how. Like every day. And I always say “I’ll blog about it”. But I haven’t. Sorry.
This post is about 2 months late. But it’s still the same info. Just ignore the Christmas tree pictures. K?
When we started working on the shop we had a VERY tight budget, but budget decorating and upcycling is what we are all about, so, we definitely put that to use in our shop reno.
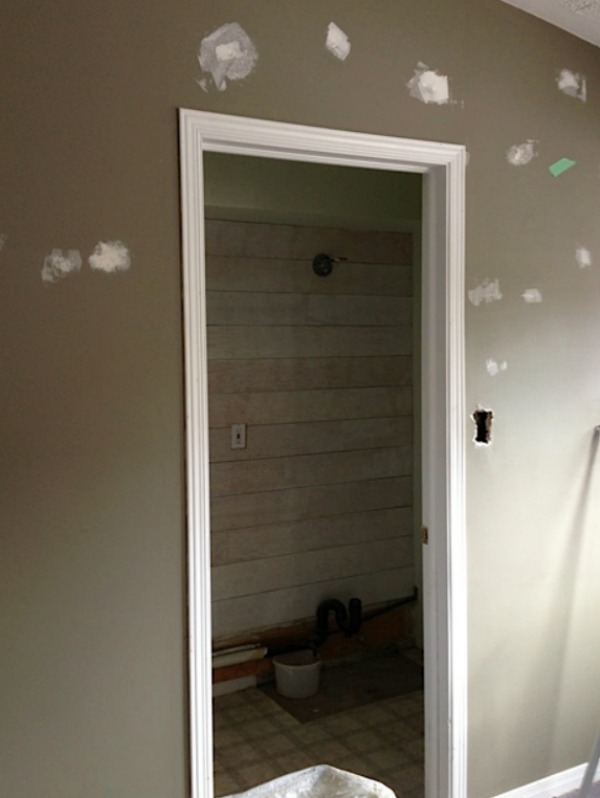
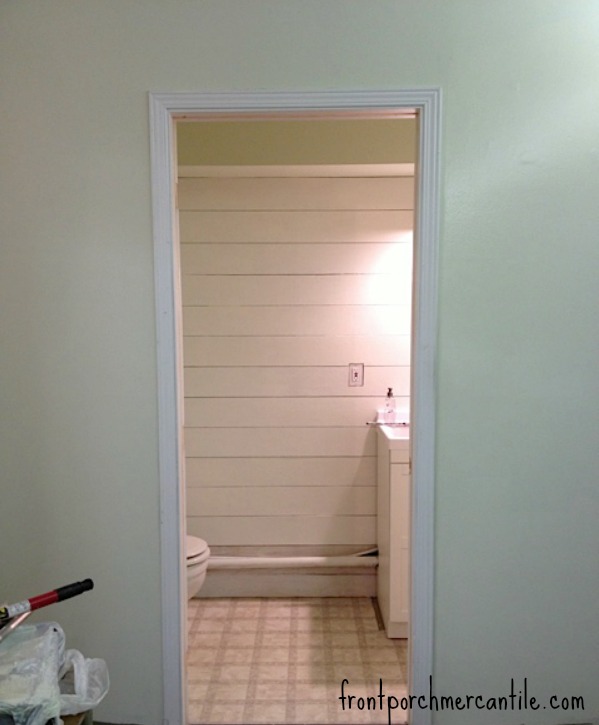
Let me remind you what this end of the shop looked like when we started. 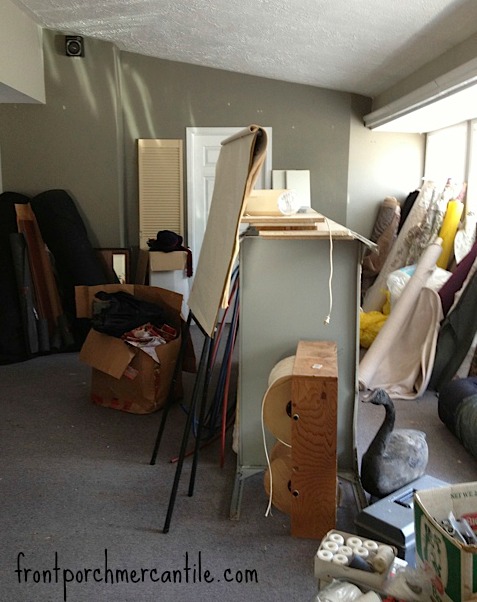
um ya, I know. That white builder’s grade door at the end (you know, the FOCAL point of the room) is the bathroom.
Let’s have a look at what that look looked like when we opened the door.
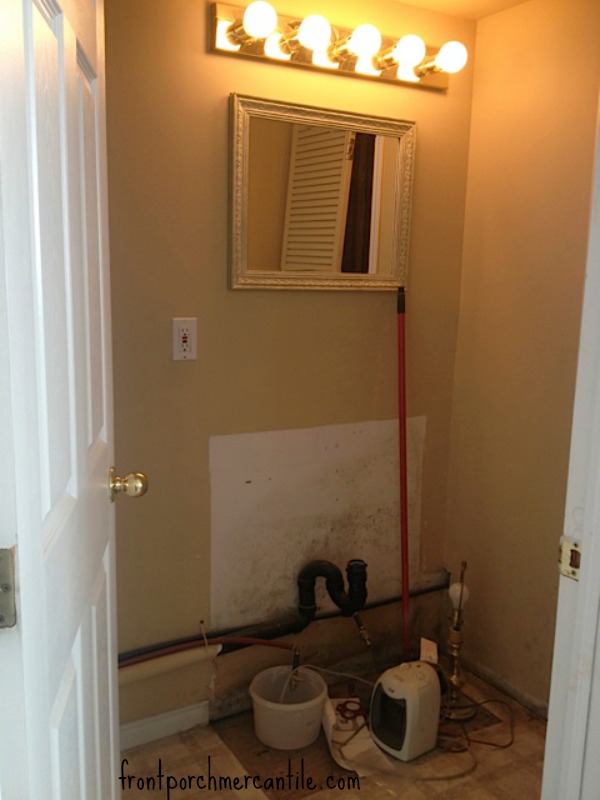
um, ya. I know. No words.
We needed a sink (obviously), we needed to paint, a new floor, the toilet had been unused for many years and was yucky, and we needed to figure out what to do with the door. The bathroom is a focal point of the room, in its previous life the shop was a decorator office/showroom and they were able to keep the door closed, I knew the door would be open a lot with the workshop right there, and the door swung in and made the room so tight it was annoying.
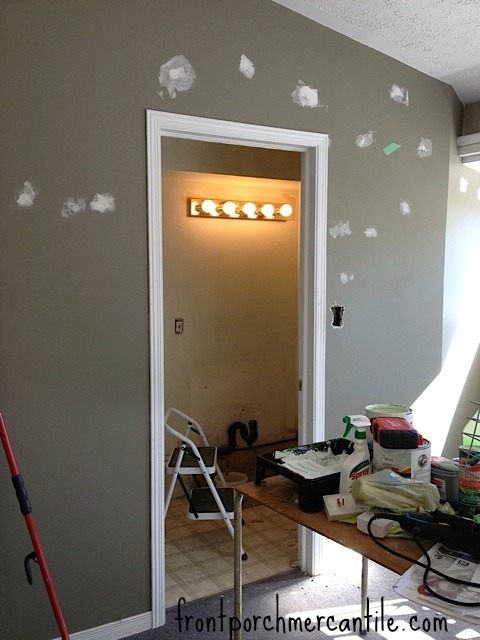
First, we painted the bathroom and we used leftover paint we had from a reno we did at our cottage. I painted out the trim and the pump room door all the same colour (light white/greenish misting we had that went well with the walls in the shop)
I decided we needed a focal point that wasn’t a white builders door. Or a dirty bathroom. Or just a painted wall. Then I got an idea! I asked my hubby if we had any plywood hanging around. Yes, we did. Could he cut it? Yes, he could.
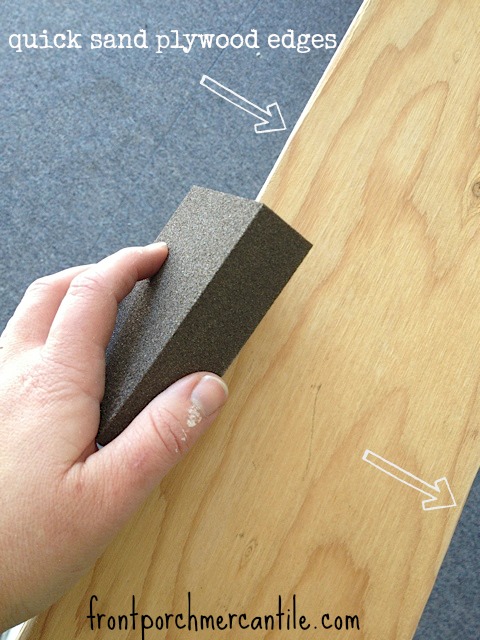
Would he cut me 6-inch strips? This is when he put the iPhone down and looked at me weirdly.
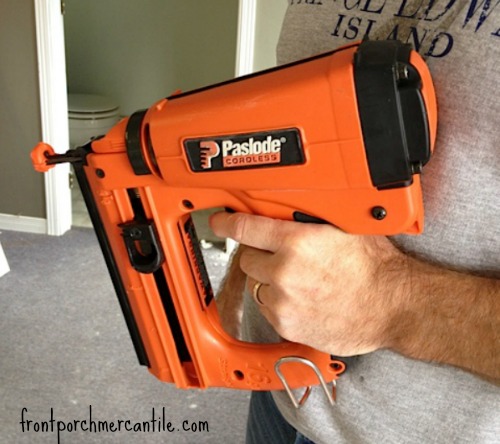
Yes, he could. So, he cut a bunch of 6″ strips of plywood, not getting my “vision” at all. I sanded the boards quickly and I asked him to grab his nail gun, a penny, and meet me in the bathroom.
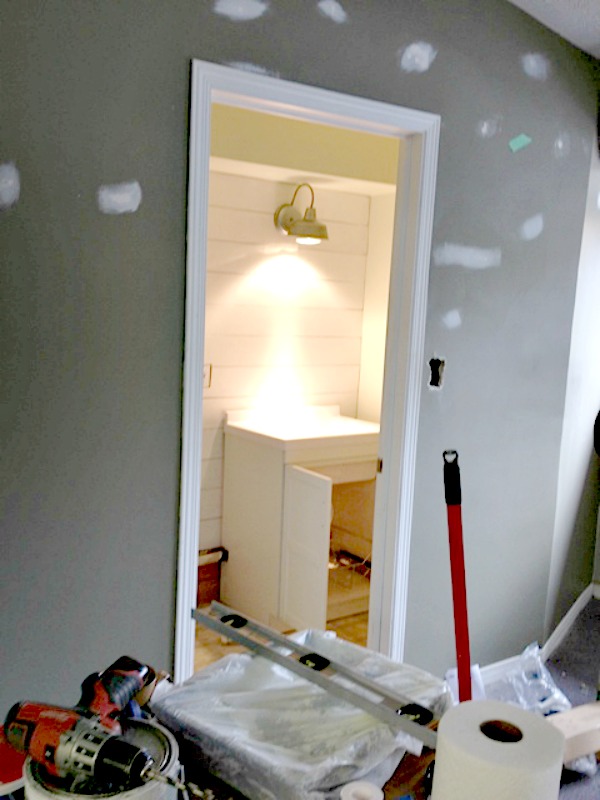
At this point, he seriously doesn’t get it. But he is so awesome he just started nailing the boards with me. We used a penny to space the distance between the planks. I should also note I did prime the wall behind as I thought the wall colour might show through and it was much darker than the white I envisioned. The penny spacer is was just my little kick at the fact in a few years someone may read this and ask “what’s a penny” as they just phased them out here in Canada (no more pennies). The wall went up VERY quickly!
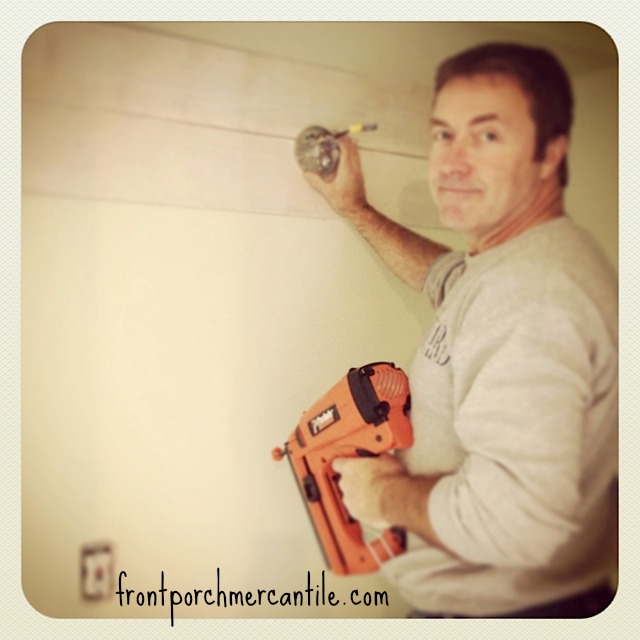
At this point, he was still VERY unsure. We did have to stop for a bit and make a hole for the new light fixture.
After a few planks were up hubby “got it” and was into it, wanting to get this bathroom renovation complete.
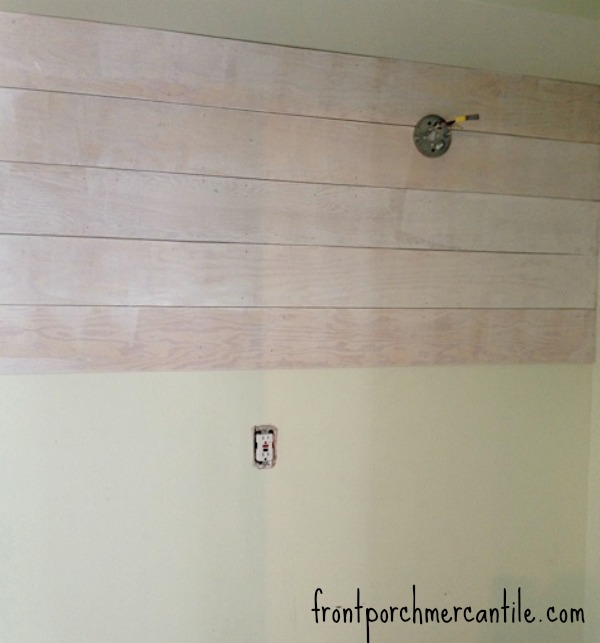
I think the whole wall including the stopping to adjust the light (hubby had to do some rewiring here) was still only about an hour! LOVE how easy this plank wall was!
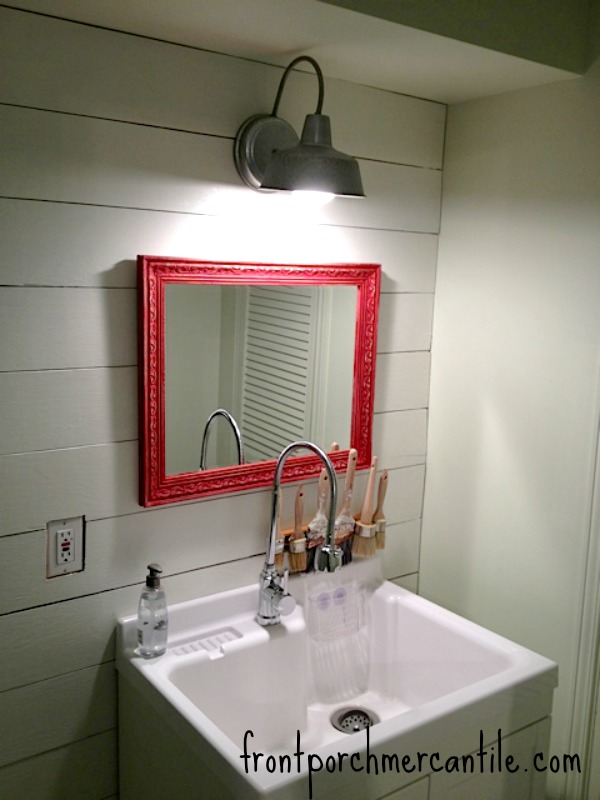
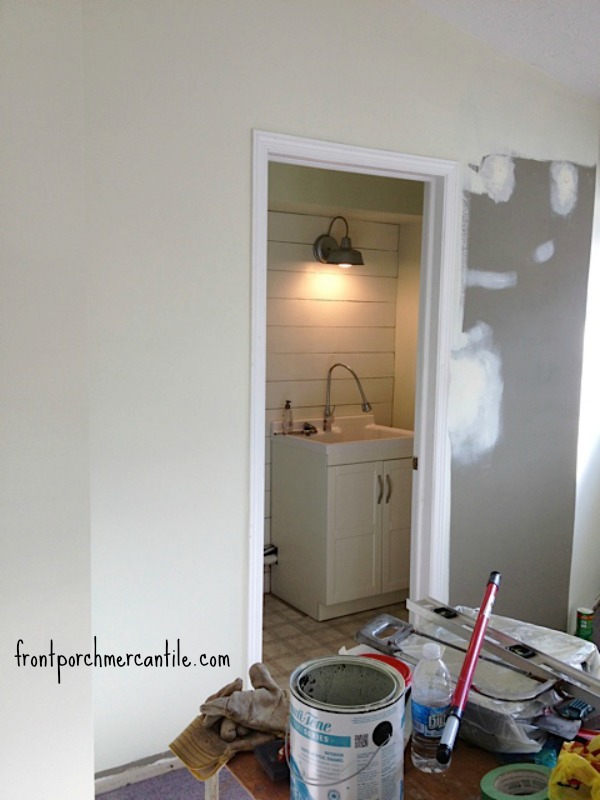
After the plank wall was up, we were on to the sink. I found a FAB sink at our local Costco for $300 and then was devastated when it wasn’t there when we went to pick it up. BUT, I checked our local home depot, and found another awesome sink on sale for $170! SCORE! Laundry tub style, large industrial style faucet and cabinet for $170 – hello love. It has been a GREAT sink for this messy painter chick and works really well!
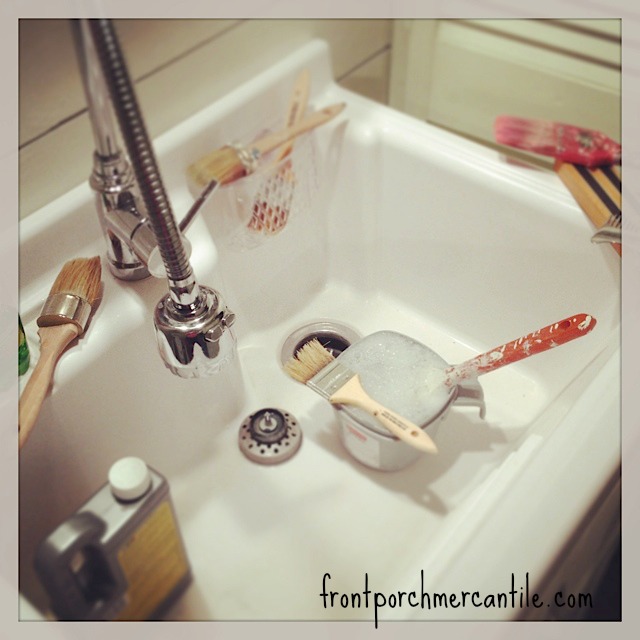
Because so many people ask, yes it stains, yes I can get it clean again, once a week (cuz I’m lazy) I clean it well with Spray 9 and it stays white and bright. And it gets abused. Badly. Paint and coffee. Every day. She is pretty, but she is tough!
Next up on the bathroom renovation was flooring. We had just installed flooring in the workshop and had a large scrap piece that fit perfectly. Score. You can also see as we worked along how painting the shop walls made such a difference to the look of the bathroom. Things were moving along.
I found an awesome light at Lowe’s online $22 great price (we don’t have a Lowes’ here – boo)
oh… I almost forgot I put a magnetic knife rack over the sink for brushes. I am brilliant. Seriously. I am. This is so awesome to have over the sink to dry brushes. Brilliant right? Told ya.

Reclaimed wood shelves

Next up we needed a door, and I got another idea! You see, we had this old door…
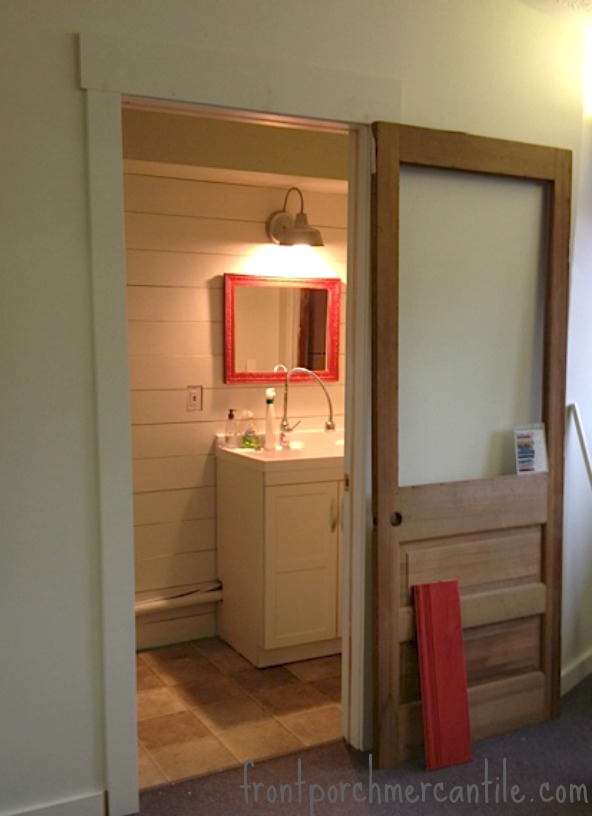
Then I started planning…
For the barn door and the rest of the bathroom renovation, check out the next blog post here to see how we did it for under $70!
To recap, how we did a bathroom renovation for under $200:
Plank Wall – Free plywood and leftover paint, well it did cost a penny :)
Flooring – a free leftover remnant
Toilet – cleaned and kept
Wall paint – free leftover from the previous reno
Mirror – painted the one that was there in Miss Mustard Seed Tricycle
Light $22
Sink $170
TOTAL: 192$
Check out how we built a barn door for under $50 using what we had, some fun Milk Paint techniques and creativity!
We love upcycling, reusing, and being creative with renovations!
Thanks for checking in, things have been super busy at the shop, lots of painting, lots of new customers, lots of fun! Feeling blessed! Thank you all!
See you tomorrow!
Wendy
*This blog post was updated in September 2021. Front Porch Mercantile is no longer a physical retail store and has grown into Front Porch Lifestyle. Now Wendy offers her services as a business coach to other creatives while continuing a blog more focused on living a creative life.
Looks amazing, Wendy! x
Wendy, I absolutely love this!! Thanks for posting this, you have me some great ideas for our new build!!
Wendy!! Looks amazing!!! I really really want to come visit sometime and see you in action! Can you imagine what that beautiful studio of yours would look like with both of us in there? Ha!!
Best,
Pia
P.S. For some strange reason, as I was reading your post I imagined a British accent, what in the world? Not candanian, not French, but British…. Weird.
That is one great budget makeover! And yes, your paint brush dryer is brilliant :-) Don’t you find that you get a lot of satisfaction from doing a budget makeover and using your creativity? So much more rewarding when you really put your heart and mind and skills into it :-)