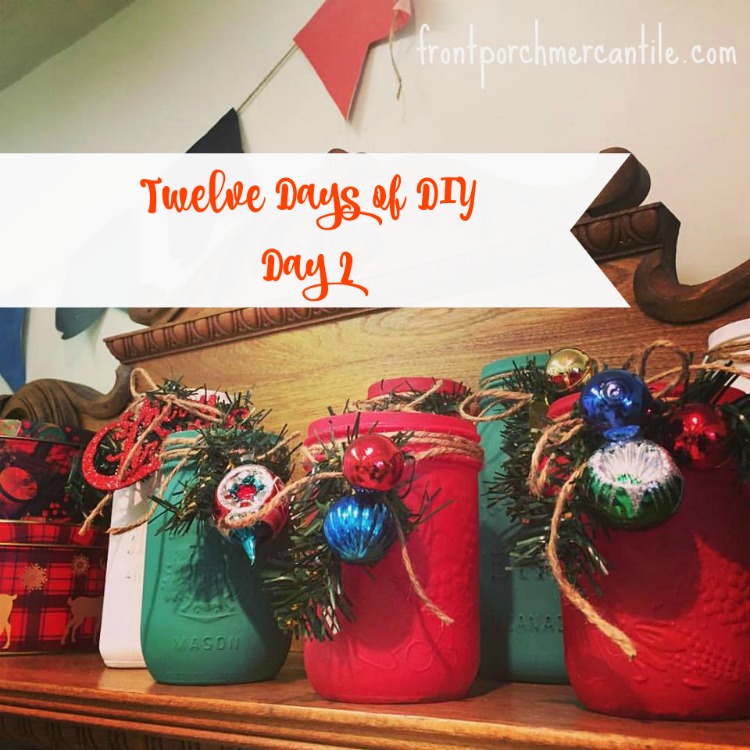
Easy Holiday DIY-Painted Mason Jars
Happy Day 2 of our 12 Days of Holiday DIY! Today we are painting mason jars. Did you catch us live on Facebook today? I started painting up a pretty jar this afternoon at the shop. Painting mason jars are super popular and super easy! I know many of you have done this before, but…

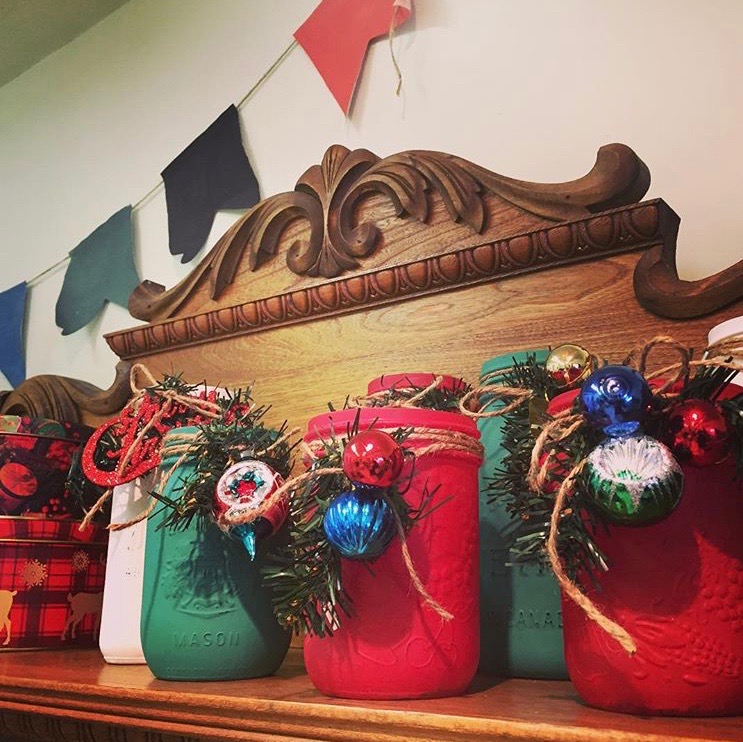
Happy Day 2 of our 12 Days of Holiday DIY! Today we are painting mason jars.
Did you catch us live on Facebook today? I started painting up a pretty jar this afternoon at the shop. Painting mason jars are super popular and super easy!
I know many of you have done this before, but it is one of our number one asked questions, so, today I’ll share just how easy it is.
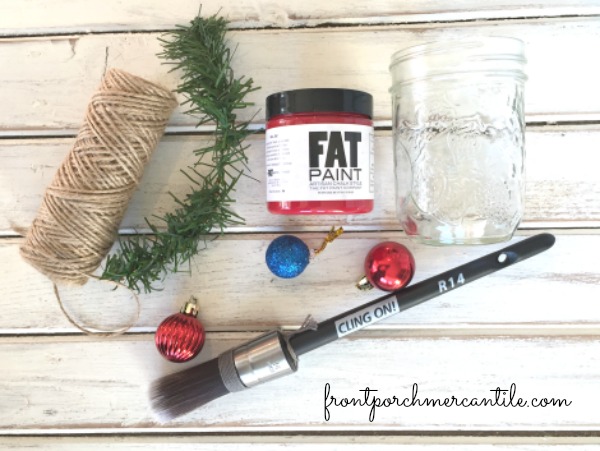
Supplies needed
Any glass jar, used mason jars or even pretty wine bottles
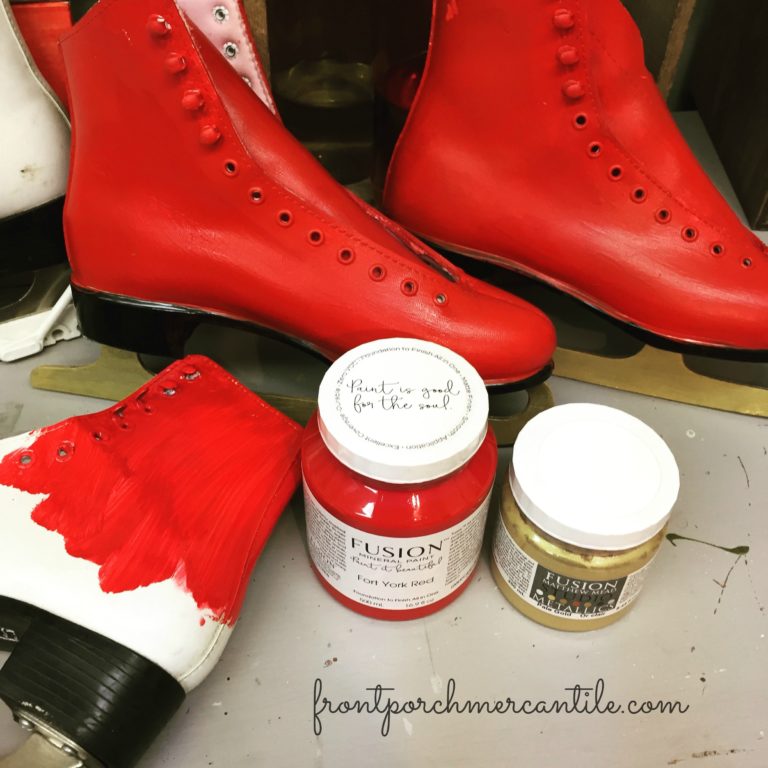
FAT Paint Chalk Style Paint – I used Red Barchetta on the FB video
FAT Paint Furniture wax in clear (not pictured below)
Cling On! Paint Brush – or any paint brush
Sand paper – I use these sponges
bits and bobs of Christmas decor, I use jute twine
How to Paint Mason Jars
- Make sure your jar is clean and dry
- Using your Cling On! Brush, apply 1 coat, let dry (about 20 mins) then add second coat
- Allow to fully dry
- Distress if desired using sanding sponge (fine grit)
- Add wax by wiping on and rubbing in all over, then wiping away all excess.
- Decorate with your twine and Christmas bits and decor
- Sit back and enjoy your work :)
See, easy peasy!
I make a lot of these jars, we sell a ton too in our shops. I recently used them to house all the cutlery at a family Christmas event. They looked cute on the buffet table!
A quick, inexpensive easy Holiday (or any day) DIY project!
Where would you use a painted mason jar?
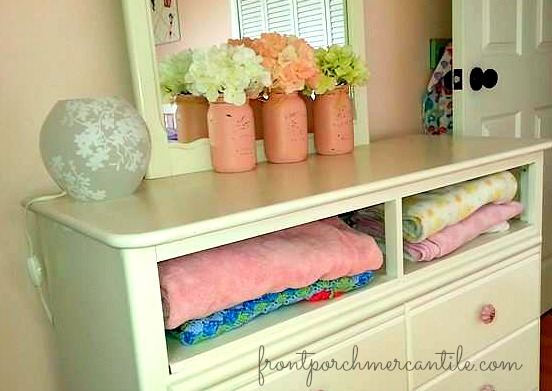
I love how my customer Tara painted these mason jars up to decorate her daughters room. Just to give you a little non Holiday look.
Join us tomorrow for day 3 of 12 Days of Holiday DIY. I hope to do another live post probably tomorrow morning (Dec 8th, 2016)
Thanks so much for popping in!
Cheers,
Wendy